Parmesan Pull Apart Garlic Bread
Another recipe post? Who am I?
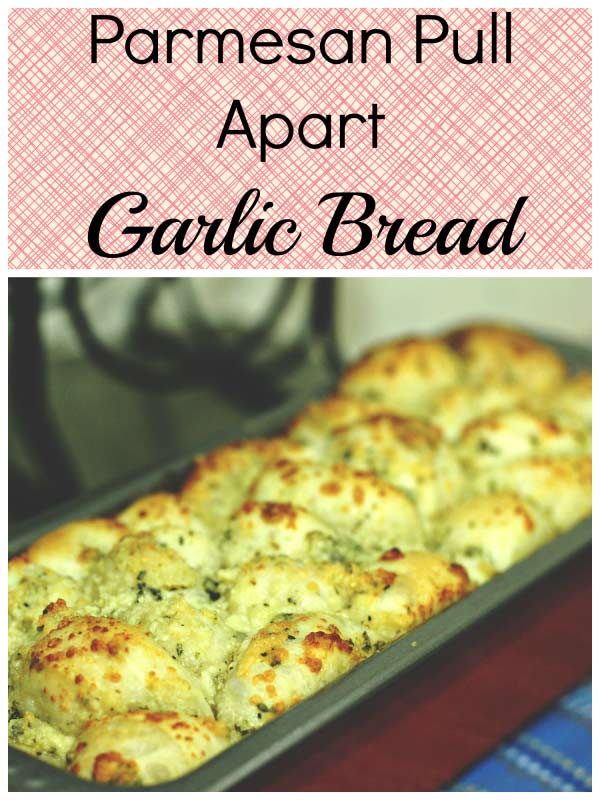
I guess I’m just really excited about cheese and garlic and carbs forever and ever amen lately. Plus, it’s easy. If you can do a little chopping and stirring and have the patience to wait for the dough to rise, you can totally make this cheesy pull apart garlic bread.
Basically, I insist you make it. And invite me over to share it with you.
Ingredients
- 1 loaf of frozen bread dough
- 1 stick (1/2 cup) of butter, melted
- 3/4 cup grated parmesan cheese
- 1 clove garlic, minced
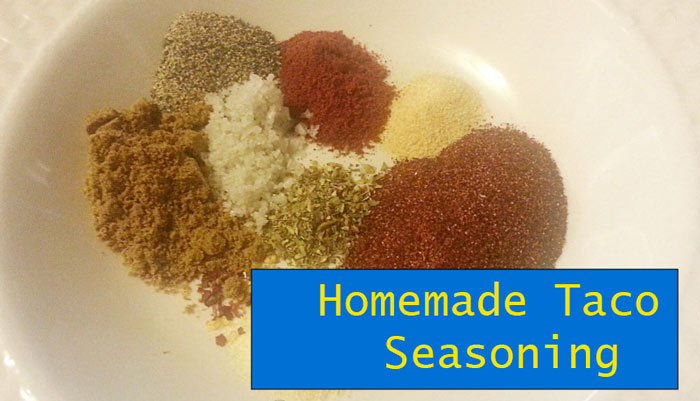
- 1 tsp dried parsley
- 1/2 tsp basil
- 1/2 tsp oregano
- 1/2 tsp garlic powder
- 1/2 tsp onion powder
Directions
- Remove bread dough from freezer and place on a cutting board. Allow to thaw for 30-45 minutes, just enough so you can easily cut through the dough.
- Slice the bread dough into small pieces and set aside.
- Place butter in a medium bowl and microwave until melted. Stir in minced garlic and seasonings until well combined.
- Add bread dough pieces and toss with butter until coated, being sure to keep them from clumping together. Then add 3/4 cup of parmesan cheese and continue tossing until your bread pieces are coated.
- Spread your dough pieces out into a greased baking dish. I used a loaf pan, but a round or square cake pan would also work. Be sure the dough doesn’t clump together. This will help ensure you get that awesome pull-apart goodness in the end.
- If there are any parmesan bits left in the bowl, go ahead and sprinkle that goodness over the dough and cover your dish with plastic wrap. Allow to rise for 2-4 hours. Your rise time will depend on the temperature of your kitchen and how much the dough thawed previously.
- Bake in a preheated 350 degree oven for 15 minutes, then check to make sure the top is not over baking. If it looks too dark, cover with aluminum foil.
- Continue baking for another 5-10 minutes, or until the center is completely cooked. If a cake tester or toothpick comes out clean, your’e good!
- Allow to cool just long enough that you won’t scald yourself while you shovel piece after piece into your mouth.
Really, the hardest part about this recipe is keeping the bread from clumping together. But man, it’s worth it. Let me know if you try it out!


