How to Sterilize Mushroom Substrate Without Using Pressure Cooker
Before mushrooms start to grow, you should sterilize the substrate to kill biological pollutants such as fungi and mold. This will give the mushroom a head start. If you grow the mushroom in a contaminated substrate, your mushroom will die. Moreover, consuming contaminated mushrooms can make you severely ill.
We all know that the pressure cooker method is the common way of sterilizing mushrooms. But that is not the only way. So, you don’t have to buy a whole pressure cooker just for this job.
Sterilization methods can differ based on your preferences, substrate type, and the amount of substrate. This blog post will show you how to sterilize mushroom substrate without a pressure cooker.
But before that, let’s learn what a substrate is.
What is A Mushroom Substrate
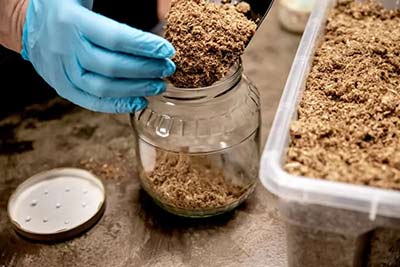
A mushroom substrate is a substance in which mushroom mycelium grows and flourishes. The substrate offers the nutrients, energy, and moisture your mushrooms require to develop and fruit. Mushrooms need substrate to grow just as the plant needs the soil.
Examples of a mushroom substrate are
- Wood chips
- Straw
- Coco coir
- Coffee grounds
- Logs
- Cardboard
Now that we know what a mushroom substrate is let’s see why you need to sterilize it.
Importance of Sterilizing Mushroom Substrates
Sterilization reduces mold and bacteria and helps ensure that whatever you’re trying to grow has the best chance of succeeding. In addition, the substrates on which mushrooms prefer to grow are moist and rich in nutrients.
While that is a perfect environment for mushrooms, it is also ideal for fungus and bacteria to thrive. Bacteria and fungus grow more quickly than mushroom mycelium.
In most instances, if left to their own devices, these contaminants will outgrow mycelium and take control of the mushroom substrate before the mushrooms have a chance to grow.
For this reason, we need to do something that will give mushrooms an advantage and ensure they populate the substrate before all other molds or fungi.
Sterilizing your mushroom substrate is comparable to pulling out as many weeds as possible from your garden before trying to plant vegetables.
Different Methods to Sterilize Without Using a Pressure Cooker
Suppose you don’t have a pressure cooker; you don’t need to worry because you can use many other methods to sterilize mushroom substrate without a pressure cooker. Below are some examples.
1. Scalding
This is a simple procedure that involves the use of boiling water. Although it will not entirely sterilize the substrate, it will destroy most pathogens. But, first, place the mushroom substrate in a vast basin or tub.

Boil the water to 100 degrees Celsius, or below – 80 degrees Celsius is ideal. You can heat the water using an urn. Pour it over the substrate and drench it for one hour thirty minutes.
Allow it to drain for two hours. If you leave it to dry for too long, it will become contaminated again. Your substrate is now complete and ready for injection.
2. Using an Oven
Fill the foil tray halfway with your material. Moisture should also be present in your substrate or casing. So, add just enough water to wet the material thoroughly.
Cover the tray with heavy-duty tin foil.
Enclose it as tightly as you possibly can. Set the timer for 30 minutes and place it in a preheated oven at 250°F.
That is enough time for you to get rid of the majority of the contaminants.
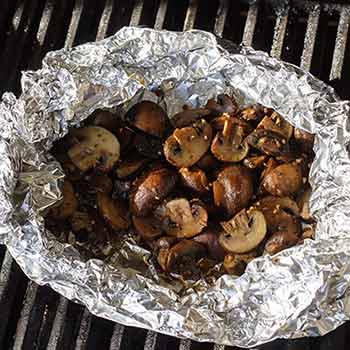
When the timer goes off, remove the tray and place it on a cooling rack. Don’t remove the tin foil.
Allow it to cool until it is safe to handle. You shouldn’t use the substrate while it’s still hot because it will kill the mushroom seed.
3. Chemical cold sterilization
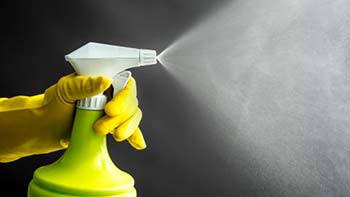
This is one of the least expensive methods of sterilizing your mushroom substrate because it does not involve heating. Instead, soak the straw or other mushroom substrate for a full day in some readily available chemicals – either hydrated lime or powder from chlorine.
Lime Hydration
Hydrated lime raises the pH and kills the majority of the contaminants. With hydrated lime, make sure the lime you use has a magnesium content of less than 2percent. You should be able to get some at your local farm supply store.
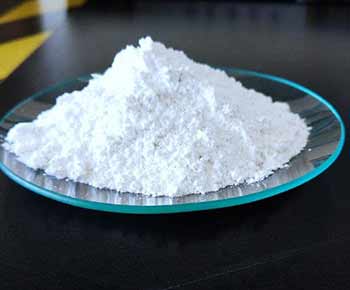
This chemical is particularly suited to oyster mushrooms. It is not advisable to use Dolomitic lime. Use caution when working with lime because you don’t want to inhale it or get it on your skin. Wearing a mask and gloves is a good idea.
Chlorine
Chlorine combines with oxygen and kills most pathogens, resulting in a genuinely sterile substrate. Soak the straw in a chlorine solution for a full day. Before adding the mushroom spore, neutralize the chlorine. After that, drain and inoculate with mushroom spores.
4. Composting Process
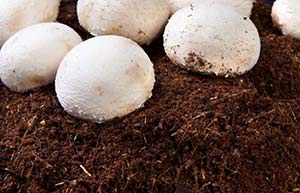
Composting is ideal for growing button mushrooms, but you can also grow oyster mushrooms.
This method is divided into two steps.
The first step is the decomposition of the mixed raw materials. It is a biological and chemical process carried out outside. Throughout this phase, the substrate can reach up to 80 degrees Celsius.
The second phase is completed indoors. It is a biological process that achieves the decomposing process. In this phase, the temperature is strictly controlled for a set time.
Maintain the temperature at 56 to 60 degrees Celsius for 8 hours during the first part of this phase.
The conditioning period follows, during which the temperature drops to 45 degrees Celsius for up to seven days. The conditioning process is complete once you remove the volatile ammonium from the process.
5. Pasteurization
Pasteurization is a popular process used to sterilize mushroom substrate; the following steps will guide you on how to proceed.
Cut your substrate, such as straw, into 1 to 6 cm long pieces and place them in your bags. Bring the water to a boil, and add the bags with the pressure regulator. Pour the hot water from the water reservoir into the barrel.
Allow the process to run for 12 to 15 hours, and ensure your barrel has enough water. Then, remove your bags and let them cool down for at least 24 hours. The density of the substrate and the temperature will affect the draining process.
The temperature within the bags has to be below 28 degrees Celsius; otherwise, the heat will destroy the mycelium.
Safety Precautions You Need to Take
When using the chemical method of sterilizing mushroom substrate, you must wear a mask and gloves to protect your skin and eyes from chemicals.
Mushrooms are highly sensitive to dirt, and you need to observe uttermost hygiene to attain the best yields.
Frequently Asked Questions
Can you Reuse Mushroom Substrate?
Yes, It’s possible to recycle the substrate to grow more mushrooms. For instance, if you have a large amount of used straw, you may be able to break it up, re-sterilize it, and utilize the substrate again to grow more mushrooms.
Can you Sterilize a Mushroom substrate at Home?
Yes, a straightforward way is by immersing the substrate in boiling water for at least one or two hours and leaving it to drain excess water before using.
Can I Sterilize Mushroom Substrate Commercially using These Methods?
Yes, you can sterilize commercially with some of these methods. But the scale and precautions are going to be changed because most of them will involve chemicals to make it faster and cheaper.
Conclusion
See! you can sterilize the mushroom without a pressure cooker. I hope you are glad you took the time to read the article. Now, you can choose any of the methods described in this article to sterilize your mushroom substrate.
Mushrooms are rich in Vitamin D, Potassium, Zinc and are delicious. So, overlook any challenge you may face when sterilizing them. Your struggle will be worthwhile in the long run.
So, now you know how to sterilize mushroom substrate without a pressure cooker.
